Introduction to Spring HVAC Audits
A spring HVAC audit prepares your heating, ventilation, and air conditioning system for the demands of summer. This proactive approach identifies potential issues early, improves performance, and lowers energy consumption. By following a structured maintenance plan, homeowners achieve greater comfort while minimizing repair costs and environmental impact.
Begin with basic inspections and progress to advanced checks. Each step builds on the previous one to optimize system efficiency. Professional involvement may prove necessary for complex tasks, but many actions require only household tools and minimal time.
Step 1: Inspect and Replace Air Filters
Air filters capture dust, pollen, and debris, protecting your HVAC components from damage. Clogged filters restrict airflow, force the system to work harder, and increase energy use by up to 15 percent.
What to do:
- Locate the filter in the return air duct or air handler unit.
- Hold it up to light; if little light passes through, replacement is required.
- Install a new filter with the correct size and MERV rating for your system, typically every one to three months depending on usage.
Cost: Filters cost $5 to $20 each. This task requires no special tools and takes less than 10 minutes.
Step 2: Clear Debris from the Outdoor Unit
The outdoor condenser unit expels heat from your home. Leaves, dirt, and vegetation around it hinder heat dissipation, reducing efficiency and risking overheating.
What to do:
- Turn off power to the unit at the breaker for safety.
- Remove leaves, grass clippings, and other debris with a soft brush or garden hose on low pressure.
- Ensure at least two feet of clearance around the unit for proper airflow.
Cost: This step involves no expenses beyond basic cleaning supplies you likely already own.
Step 3: Clean the Evaporator and Condenser Coils
Coils transfer heat inside and outside your home. Dirt buildup on these surfaces insulates them, causing the system to consume more energy and potentially fail prematurely.
What to do:
- For the indoor evaporator coil, access it by removing the access panel and use a soft brush to remove dust.
- Spray with a no-rinse coil cleaner available at hardware stores, following product instructions.
- Clean the outdoor condenser coils similarly after debris removal, avoiding high-pressure washing that could bend fins.
Cost: This step is free if you handle it yourself. A professional cleaning typically costs $75 to $200.
Step 4: Seal Air Leaks and Insulate
Even a perfectly tuned HVAC system cannot perform optimally if cool air escapes through leaks in your home. Gaps around doors, windows, or ductwork allow conditioned air to vent outdoors, driving up energy bills.
What to do:
- Detect drafts near windows and doors by using a lit incense stick or thin tissue paper; movement indicates a leak.
- Apply weatherstripping to doors and caulk to window frames where gaps appear.
- Examine visible ductwork for holes or loose joints and seal them using specialized HVAC foil tape.
Cost: Weatherstripping and caulk generally cost under $25. Materials for duct sealing add $20 to $50. Professional duct sealing for extensive leaks ranges from $500 to $1,000 and can reduce energy loss by up to 30 percent.
Step 5: Test the Thermostat
The thermostat controls your entire system. An inaccurate or poorly located unit may cool unoccupied spaces or cause excessive cycling, leading to uneven temperatures and higher costs.
What to do:
- Confirm the thermostat is level and positioned away from heat sources such as lamps or direct sunlight.
- Compare its reading to a separate thermometer placed nearby.
- Upgrade to a programmable or smart thermostat if your current model lacks precision or scheduling features.
Cost: Basic programmable thermostats begin at $40, while smart models with energy monitoring range from $100 to $300. Utility companies often provide rebates to reduce these expenses.
Step 6: Examine the Condensate Drain Line
Air conditioners dehumidify indoor air, producing water that drains through a dedicated line. Clogs from algae or debris cause backups, resulting in water damage or elevated humidity levels.
What to do:
- Find the drain line near the indoor unit, typically a PVC pipe exiting the air handler.
- Pour one cup of white vinegar into the line to eliminate algae growth.
- If water accumulates, attach a wet-dry vacuum to the end and suction out the obstruction.
Cost: This maintenance requires only vinegar and a few minutes of effort, making it nearly free.
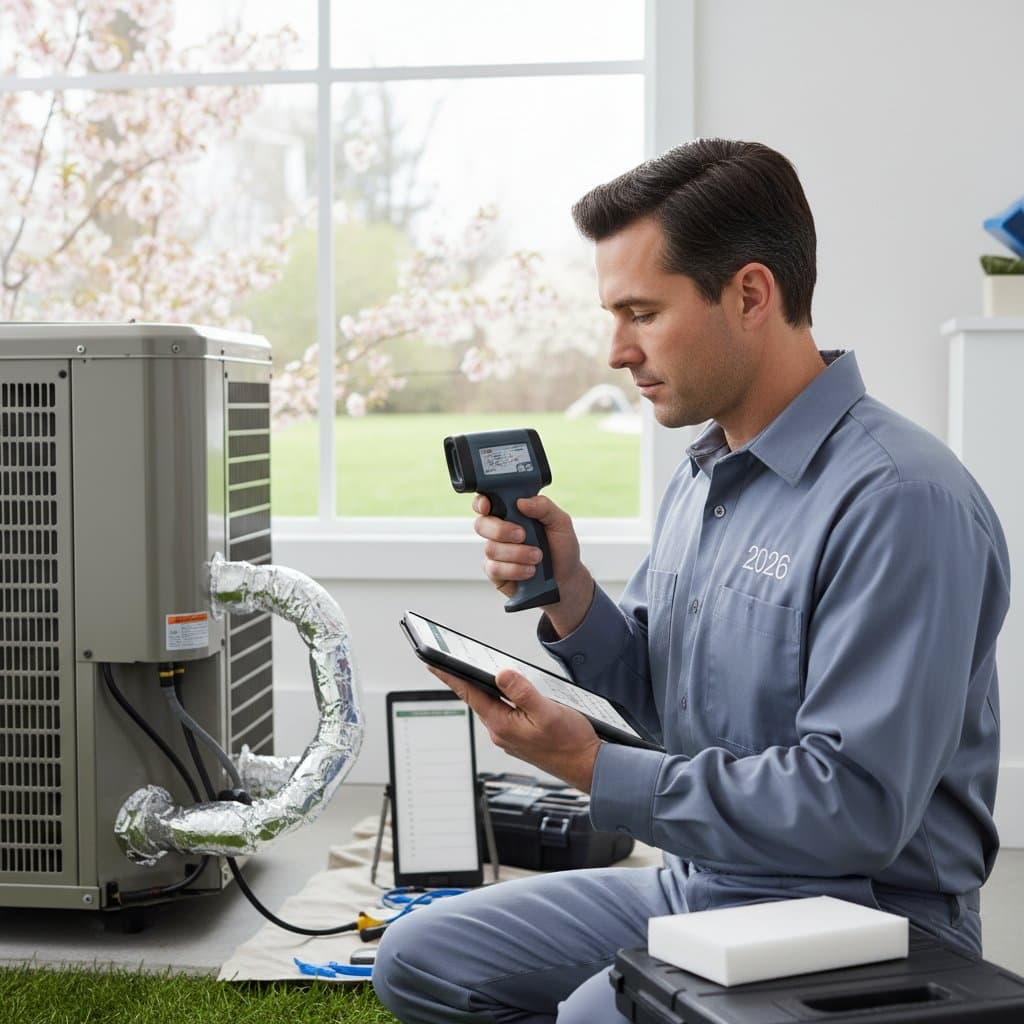
Step 7: Schedule a Professional Tune-Up
DIY efforts address visible problems, but certified technicians detect subtle issues like low refrigerant or electrical faults. A comprehensive tune-up verifies safe, efficient operation and extends equipment life.
What to do:
- Contact a licensed HVAC contractor for an annual inspection.
- Request checks on refrigerant levels, electrical connections, and overall system balance.
- Discuss any unusual performance noted during your self-audit.
Cost: Standard inspections cost $100 to $200. This investment often averts emergency repairs that exceed $1,000.
When to call a professional immediately:
- Grinding or squealing sounds from the unit.
- Short cycling or uneven cooling throughout the home.
- Ice buildup on coils or refrigerant lines.
These symptoms signal urgent concerns requiring expert diagnosis.
Step 8: Evaluate Energy Efficiency and Upgrade Options
Aging systems lose efficiency over time, consuming more power for the same output. Newer models incorporate advanced features like variable-speed compressors that adapt to demand, minimizing waste.
What to consider:
- Select ENERGY STAR-certified units with SEER ratings above 16 for superior performance.
- Have a technician conduct a Manual J load calculation to determine the appropriate system size.
- Research local rebates, tax credits, and financing for efficient replacements.
Cost: Complete system replacements range from $4,000 to $12,000 based on capacity and features. Such upgrades typically yield 20 to 40 percent savings on energy bills annually.
Pro Tips for Effective Maintenance
- Schedule regular checks: Mark your calendar for filter replacements and full audits each spring and fall.
- Maintain records: Log maintenance dates, filter changes, and service visits in a dedicated notebook or app.
- Control indoor dust: Vacuum and dust surfaces frequently to limit particles that burden filters.
- Incorporate ceiling fans: Run them counterclockwise in summer to circulate air, enabling a higher thermostat setting without discomfort.
- Manage solar heat: Draw blinds or curtains during midday to block sunlight and ease the HVAC workload.
Strategies for Long-Term System Care
Consistent maintenance transforms your HVAC from a seasonal necessity into a reliable asset. Address minor wear promptly to avoid major disruptions. This discipline stabilizes energy expenses and enhances indoor air quality year-round.
Realize Comfort and Cost Savings
Implementing a spring HVAC audit equips your home for efficient summer cooling. These steps not only prevent breakdowns but also promote sustainability. Experience reliable performance, lower bills, and a healthier living environment through diligent care.