
Winter HVAC Checklist: Prepare Your System for Cold Weather
A silent furnace on the first cold morning can transform a comfortable home into an expensive emergency. Winter HVAC maintenance becomes manageable when approached as a focused inspection, cleaning, and testing routine. Homeowners typically spend one to three hours on these checks, while professional service commonly costs between one hundred and two hundred fifty dollars. Simple repairs such as igniter replacement start around one hundred fifty dollars, whereas major component work can exceed fifteen hundred dollars depending on regional labor rates.
Key Points
- Replace filters, test alarms, and clear outdoor equipment before heating demand rises.
- Keep vents open and unobstructed to protect comfort and system performance.
- Hire a licensed technician for fuel, electrical, combustion, refrigerant, or carbon monoxide concerns.
- Document service and repairs for warranty, insurance, and future resale records.
- Treat a clogged filter as an early warning sign, not merely a housekeeping issue.
Start with the Airflow
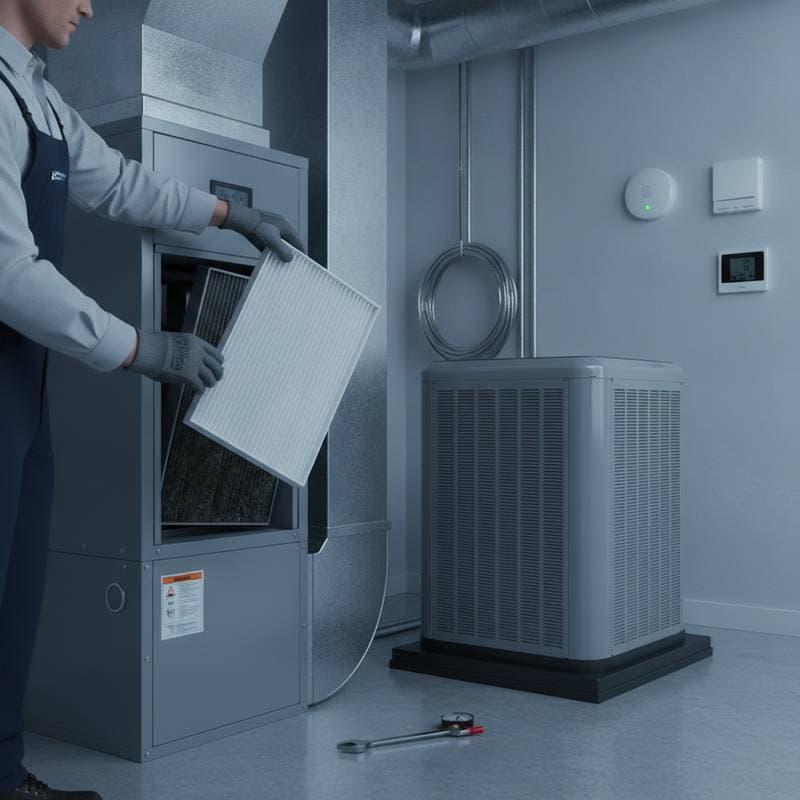
Turn off the heating system before opening panels or cleaning around equipment. Replace a disposable filter if it appears gray, clogged, or overdue for replacement. Basic filters cost between five and twenty dollars, while higher filtration models range from fifteen to forty dollars. Consult the equipment manual before selecting a higher rated filter, since overly restrictive filtration can reduce airflow and strain the blower.
A dirty filter forces the system to work harder to move heated air through the home. That added resistance can increase energy use, cause the blower motor to run longer, and contribute to overheating in a furnace. Some systems may shut down repeatedly when safety controls detect excessive heat. In a heat pump, restricted airflow can reduce heating performance and encourage coil icing.
Walk through every room and confirm that supply registers remain open. Move rugs, furniture, curtains, and storage boxes away from vents and return grilles. Poor airflow creates cold rooms, noisy operation, and longer heating cycles. Vacuum accessible grilles, but never insert tools into the ductwork.
Check that the filter is installed in the correct direction, following the airflow arrow printed on its frame. A filter that is backward may not protect the equipment properly. Keep replacement filters where they are easy to find, and mark the installation date on the frame so the next inspection is not forgotten.
Inspect the Furnace or Heat Pump
Look for water, soot, corrosion, damaged wiring, or unusual debris around the indoor unit. A furnace flame should generally appear steady and blue. Yellow, flickering, or wavering flames can signal combustion trouble and require immediate professional attention. Turn the system off and leave the home if gas odor is detected. Contact the utility or emergency service from outside.
For a heat pump, clear leaves and snow from the outdoor cabinet while maintaining generous space around the sides and top. Do not chip ice from coils with a sharp tool. Repeated icing, grinding noises, or weak heat suggests a refrigerant, airflow, defrost, or mechanical problem. Those repairs belong with a licensed HVAC professional.
Inspect the area around condensate drains and pans for standing water. A blocked drain can trigger a safety switch, damage nearby flooring, or encourage mold growth. Homeowners can keep the surrounding area clean, but internal drain clearing and electrical diagnosis should be handled carefully, especially when water has reached wiring or controls.
Test Safety Equipment
Press the test buttons on smoke and carbon monoxide alarms. Replace batteries if needed, and replace alarms according to the manufacturer service life. Install carbon monoxide protection near sleeping areas and on each level where fuel burning equipment operates.
Maintain at least three feet of clearance around a furnace, boiler, or water heater. Never store paint, gasoline, cardboard, cleaning chemicals, or fabrics beside heating equipment. These materials can ignite or interfere with combustion.
Review the location of combustion air openings and vents. Do not seal, cover, or block openings that the equipment needs for safe operation. Keep exhaust terminations outside clear of snow, leaves, nests, and other debris. If a vent appears damaged or disconnected, turn off the appliance and arrange professional service.
Decide When to Hire Help
A professional tune up usually includes electrical testing, burner or heat exchanger inspection, pressure checks, blower evaluation, condensate inspection, and combustion analysis. Request a written report, license information, proof of insurance, and a clear price before work begins. Many regions require permits for equipment replacement, gas line changes, venting modifications, or electrical upgrades. Your municipality and insurer can confirm local requirements.
Skip DIY repairs when the job involves gas piping, refrigerant, high voltage, sealed combustion chambers, or carbon monoxide symptoms. A cheap shortcut can void a warranty, create an unsafe condition, or complicate an insurance claim.
Ask the technician to explain the cause of any failure rather than approving a part replacement without context. A damaged blower, repeated limit switch trip, or failed igniter may be connected to poor airflow, aging components, or improper installation. Understanding the underlying issue helps prevent the same breakdown from returning.
Document Your Maintenance Routine
Schedule professional service before the coldest stretch of the season, especially if the equipment is older, noisy, or inconsistent. Clean filters monthly during heavy use, keep outdoor heat pump areas clear after storms, and check alarms regularly.
If certain rooms remain uncomfortable after a filter change and open registers, inspect insulation, weatherstripping, and window drafts as part of a broader home design review. Improving the building envelope can reduce HVAC strain while making interiors feel warmer and more comfortable.